Search This Blog

Tuesday, October 26, 2010

4th Grade Henri Matisse Inspired Abstract Portraits

I LOVE THIS PROJECT! I have done this project last year, at the end of the year, however this year I thought it would be best to start out with it. First, I really wanted to start out with an introduction (review for some) about the placements of the facial feature. The best attribute of this project is that it is abstract so the students don't put too much pressure on themselves to get it as realistic looking as a photograph. They work outside of the box, which I feel adds uniqueness and shows where their inspiration came from.
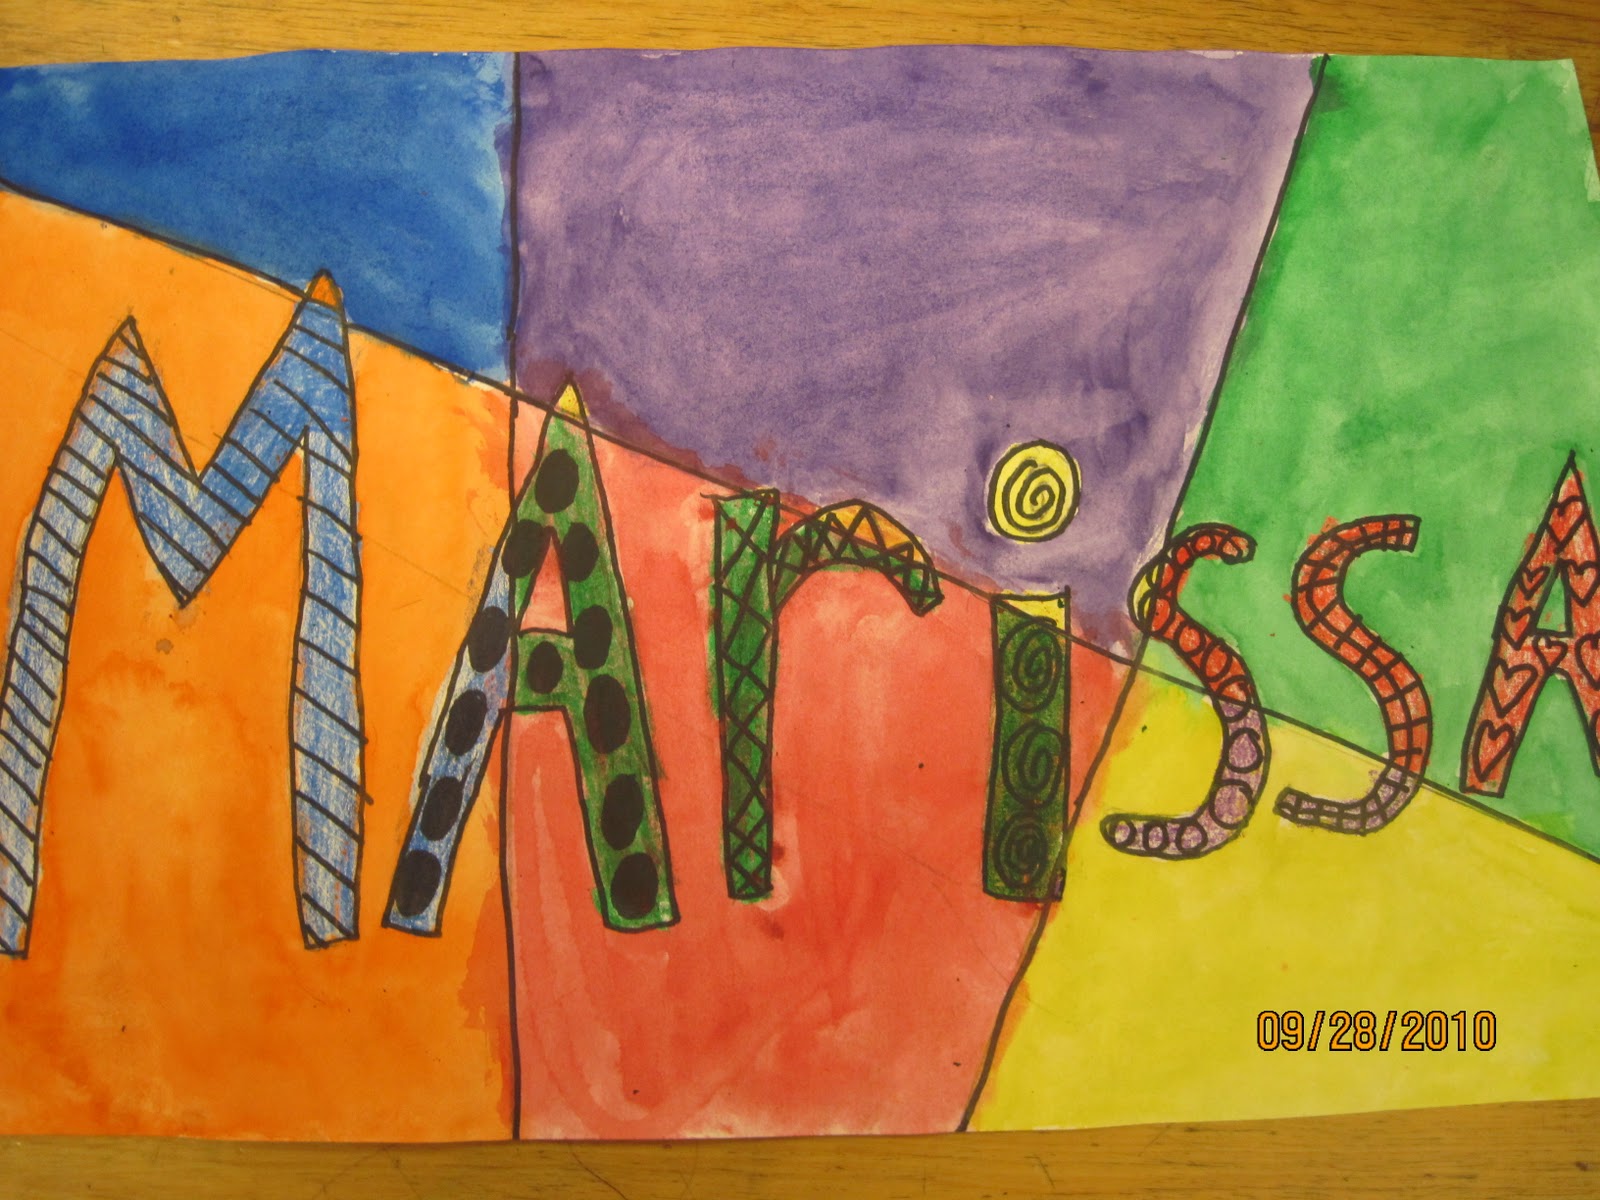
For this project I showed a powerpoint on Matisse's work, a brief bio of his life and discuss different vocabulary terms, such as, collage, "drawing with scissors", abstract, pattern, blending, proportion, etc.

We started out with a 11" x 17" white construction paper. Hold it vertically. They then drew with scissors. Have them pick a 6" x 9" piece of colored (any colors that are available) and have them cut out shapes WITHOUT drawing lines first, to have their imagination take their scissor where they are suppose to go and not to be so rigid. Have them glue them down with small dots about 1/2 inch from the border.

Once shapes are glued down. Have students follow the teacher step-by-step, drawing the head, neck, shoulders, facial features. Have them do the "trick" where the tops of your ears line up with your eyebrows/ and bottoms of ears line of with nostril, etc.

With medium or thick Sharpie Markers have them trace ALL of their pencil lines.
Then have them fill in by blending chalk pastel their heads, necks, ears and hair colors.
With oil pastel have them fill in a pattern on their shirt and a different pattern on their background.

Check them out, I'm so proud of our students!


Some are not quite finished but look so good!

Sunday, October 24, 2010

1st Grade Outer Space Crayon Resist Paintingss

This project was amazing to teach. A lot of the students were completely new to all of this information, we talked about different images that we would find in space; planets, stars, astronauts, rocket ships, constellations, moons, etc.  We covered the planet names and then we talked about Textures. I thought this would be a good introductory lesson to add textures to the planets, etc.

We started with 11" x 17" white construction paper we added a planet coming form the corner and 2-3 middle circles, and 2 small circle shapes. These circles are the planets. THen we drew a step-by-step rocket ship.

We added textures-spiky, bumpy, craters, and rings. We colored all the planets, rocket ship, with crayons and then added small starts (more like sparkly stars not drawn, 5-point stars) with white and yellow crayons.

Then we talked about how to properly set-up for painting, painting, and cleaning up after our paintings were completed. We add black watercolor (some classes I used black tempura cakes. They colored over all the planets and the starts "magically" appeared like when the sun goes down for the day and the moon rises in the night.

The students were so intrigued with the content of the project and the outcomes of their paintings. 
One student came to me while the rest of the students were working and asked me, very sincerely I must add, "So there really are other planets out there, I just thought that was something cartoons made up!" It's great to see their knowledge expand and their excitement is contagious!


1st Grade Tree Silhouette

I wanted to do a project that looked like fall, but not so obvious. I really wanted to start out with a simple/basic project but introduce the idea of Silhouettes and positive/negative space to the 1st graders.
I saw this project on dali's moustache blog and tweaked it a bit to make it meet the different objectives we were going for. The students loved my example and thought it was a "spooky tree" or a "haunted" tree.

We started with 9" x 12" inch black paper. We discussed what a silhouette was and how to figure out positive/negative space.
We drew the negative space shapes.. making the outline of the positive shape (the tree). When they completed the teacher led step-by-step lesson, we marked each negative space with a small, light x. They then picked ONE color, (red, orange, yellow, or blue) of oil pastel and colored the sky in darkly. We then added yellow, orange, or white to the moon.

I really like this project and I will probably do this with my second graders sometime in the winter.. but make them larger with more detail.

Sunday, October 17, 2010

2nd Grade Dancing Scarecrows

These turned out so great. I saw a bunch of scarecrow lessons online and decided to do a little twist to the "normal" scarecrow. We talked about a scarecrows, talked about pretend/real, Reviewed the color wheel and talked about distance, and read a book. I asked them what it would be like if scarecrows could have a day off. So we decided to make them dancing or stretching, since it's a busy job being a scarecrow!

We reviewed primary colors, secondary colors, horizon line, how to draw a scarecrow, and size/distance.


If you have any questions how I went about teaching this lesson let me know! Have fun art making!

Monday, October 11, 2010

3rd Grade Name Color Wheel/Pattern Study Designs

This project is to help students review last year materials in a fun and creative way!
We reviewed how to make Bubble letters, patterns, complimentary, secondary, primary and touched a little on tertiary colors.
We talked about Patterns in detail, then I handed out a brainstorming paper that I created called "Art pizzas" in the crust they write their ideas "fish", "polka dots" etc and then in the "pizza part" they create the pattern that they wanted to practice for their name

The students started out with 11" x 17" paper.
In Pencil:
They added their first name (nickname if really long name i.e Elizabeth to Lizzie, etc) in Big Bubble letters in center of page; trying to fill the whole page.
Then added 3 lines (one horizontal and 2 vertical lines) starting/finishing at edges of page.
IN each bubble letter at a different pattern.
In Marker:
Trace all pencil lines!
IN Crayon color each section BUBBLE LETTERS divided by lines a different color.
This was hard to describe so a demonstration helps so much BUT also adding a dot of color in each bubble letter section will help them recognize where each color goes. Have them raise their hand so you can check they are on the right page.
IN water color, have them paint the backgrounds the complimentary colors of the bubble letters (i.e. bubble letter section is blue= background orange,etc)

This was the first project of the year and really helped everyone, including me with getting more familiar with names, get back into the groove.


If you try this project or any project please let me know and send pictures!! I love photos! I hope you get  much enjoyment seeing your students learning and creating!!!


Sunday, October 3, 2010

4th Grade Line Design/Value "Tubes" Lesson

You could title this projects make different names. When I showed my examples, I asked my students what they saw. Some answers were, tubes, tunnels, tornadoes, Dr. Suess, pipes, worms, catepillars, the list goes on and on!

For this project I got my idea from when I was in middle school. Also I saw on Mr. E's art lesson blog how to break down this project into easy steps.  My middle school teacher had us make "tunnel" designs to show that we could make lines look 3-D, in a simple and easy way.

We learned about how repeating lines, especially curvy lines, can make a good skeleton to add value or shading to create 3-Dimensional optical illusion compositions.

On a 9" x 9" white construction paper we drew, with pencil, a "hilly" line in the middle of the page. We added 7-9 dots to show where our little hills will begin and end. They did one side of the hilly line until it was completed by being at the top of the page. I suggested working in one direction and continue making row of hills (making sure to spread evenly, so it will be easy to fill with shaded color.) Then they repeated the same steps the opposite side of the page until completely filled. After all pencil lines are completed, students outlined the pencil lines with a standard size Sharpie marker to make lines POP!
To add shading, we watched a brief slideshow of how to apply shading, examples of optical illusions, and how what colors would look "nice" together or compliment each other.

They chose where to add color. They were aloud to choose up to 5 colors. and they could have left some white and black if they wanted. I wanted them to be able to choose where colors would go and maybe not go to have them really LOOK at the piece and what would be best for each composition.

They really enjoyed this project and felt so proud of themselves when they completed. This project took 3 solid 45 minute class periods for the majority of the class to complete. (4 solid classes would work better if the project was larger)

Here are some examples of the 4th graders work. (finished and unfinished)


First Year Teaching

Hello Everyone! This is my first year teaching. I am a Long Term Substitute Art Teacher for the year 2010-2011. I teach k-4th grade. I had this position last school year for the last 2 months of school. I am loving every minute of it! I really want to share some of the lessons we will be doing in class to show parents of students in my class, how amazingly creative our school community is and to learn from other art educators around the globe!
I have written my own and have gotten ideas from other art educators, and tweaked them to fit the needs of the students and curriculum.
I love to hear feedback! I will be posting the first lessons we have just finished throughout this next week!

Thanks for you time!